

If you’ve been around horses long enough, you’ve probably seen your share of fence failures. Maybe it was a splintered wooden board that needed replacing, or worse—that heart-stopping moment when you find a section down after a storm. We all know that moment of relief when you count heads and find everyone’s still where they should be.
Truth is, your fence is more than just a boundary—it’s your horses’ primary safety system and, let’s be honest, one of your biggest investments. Getting it right the first time isn’t just about saving money (though it certainly does that). It’s about peace of mind.
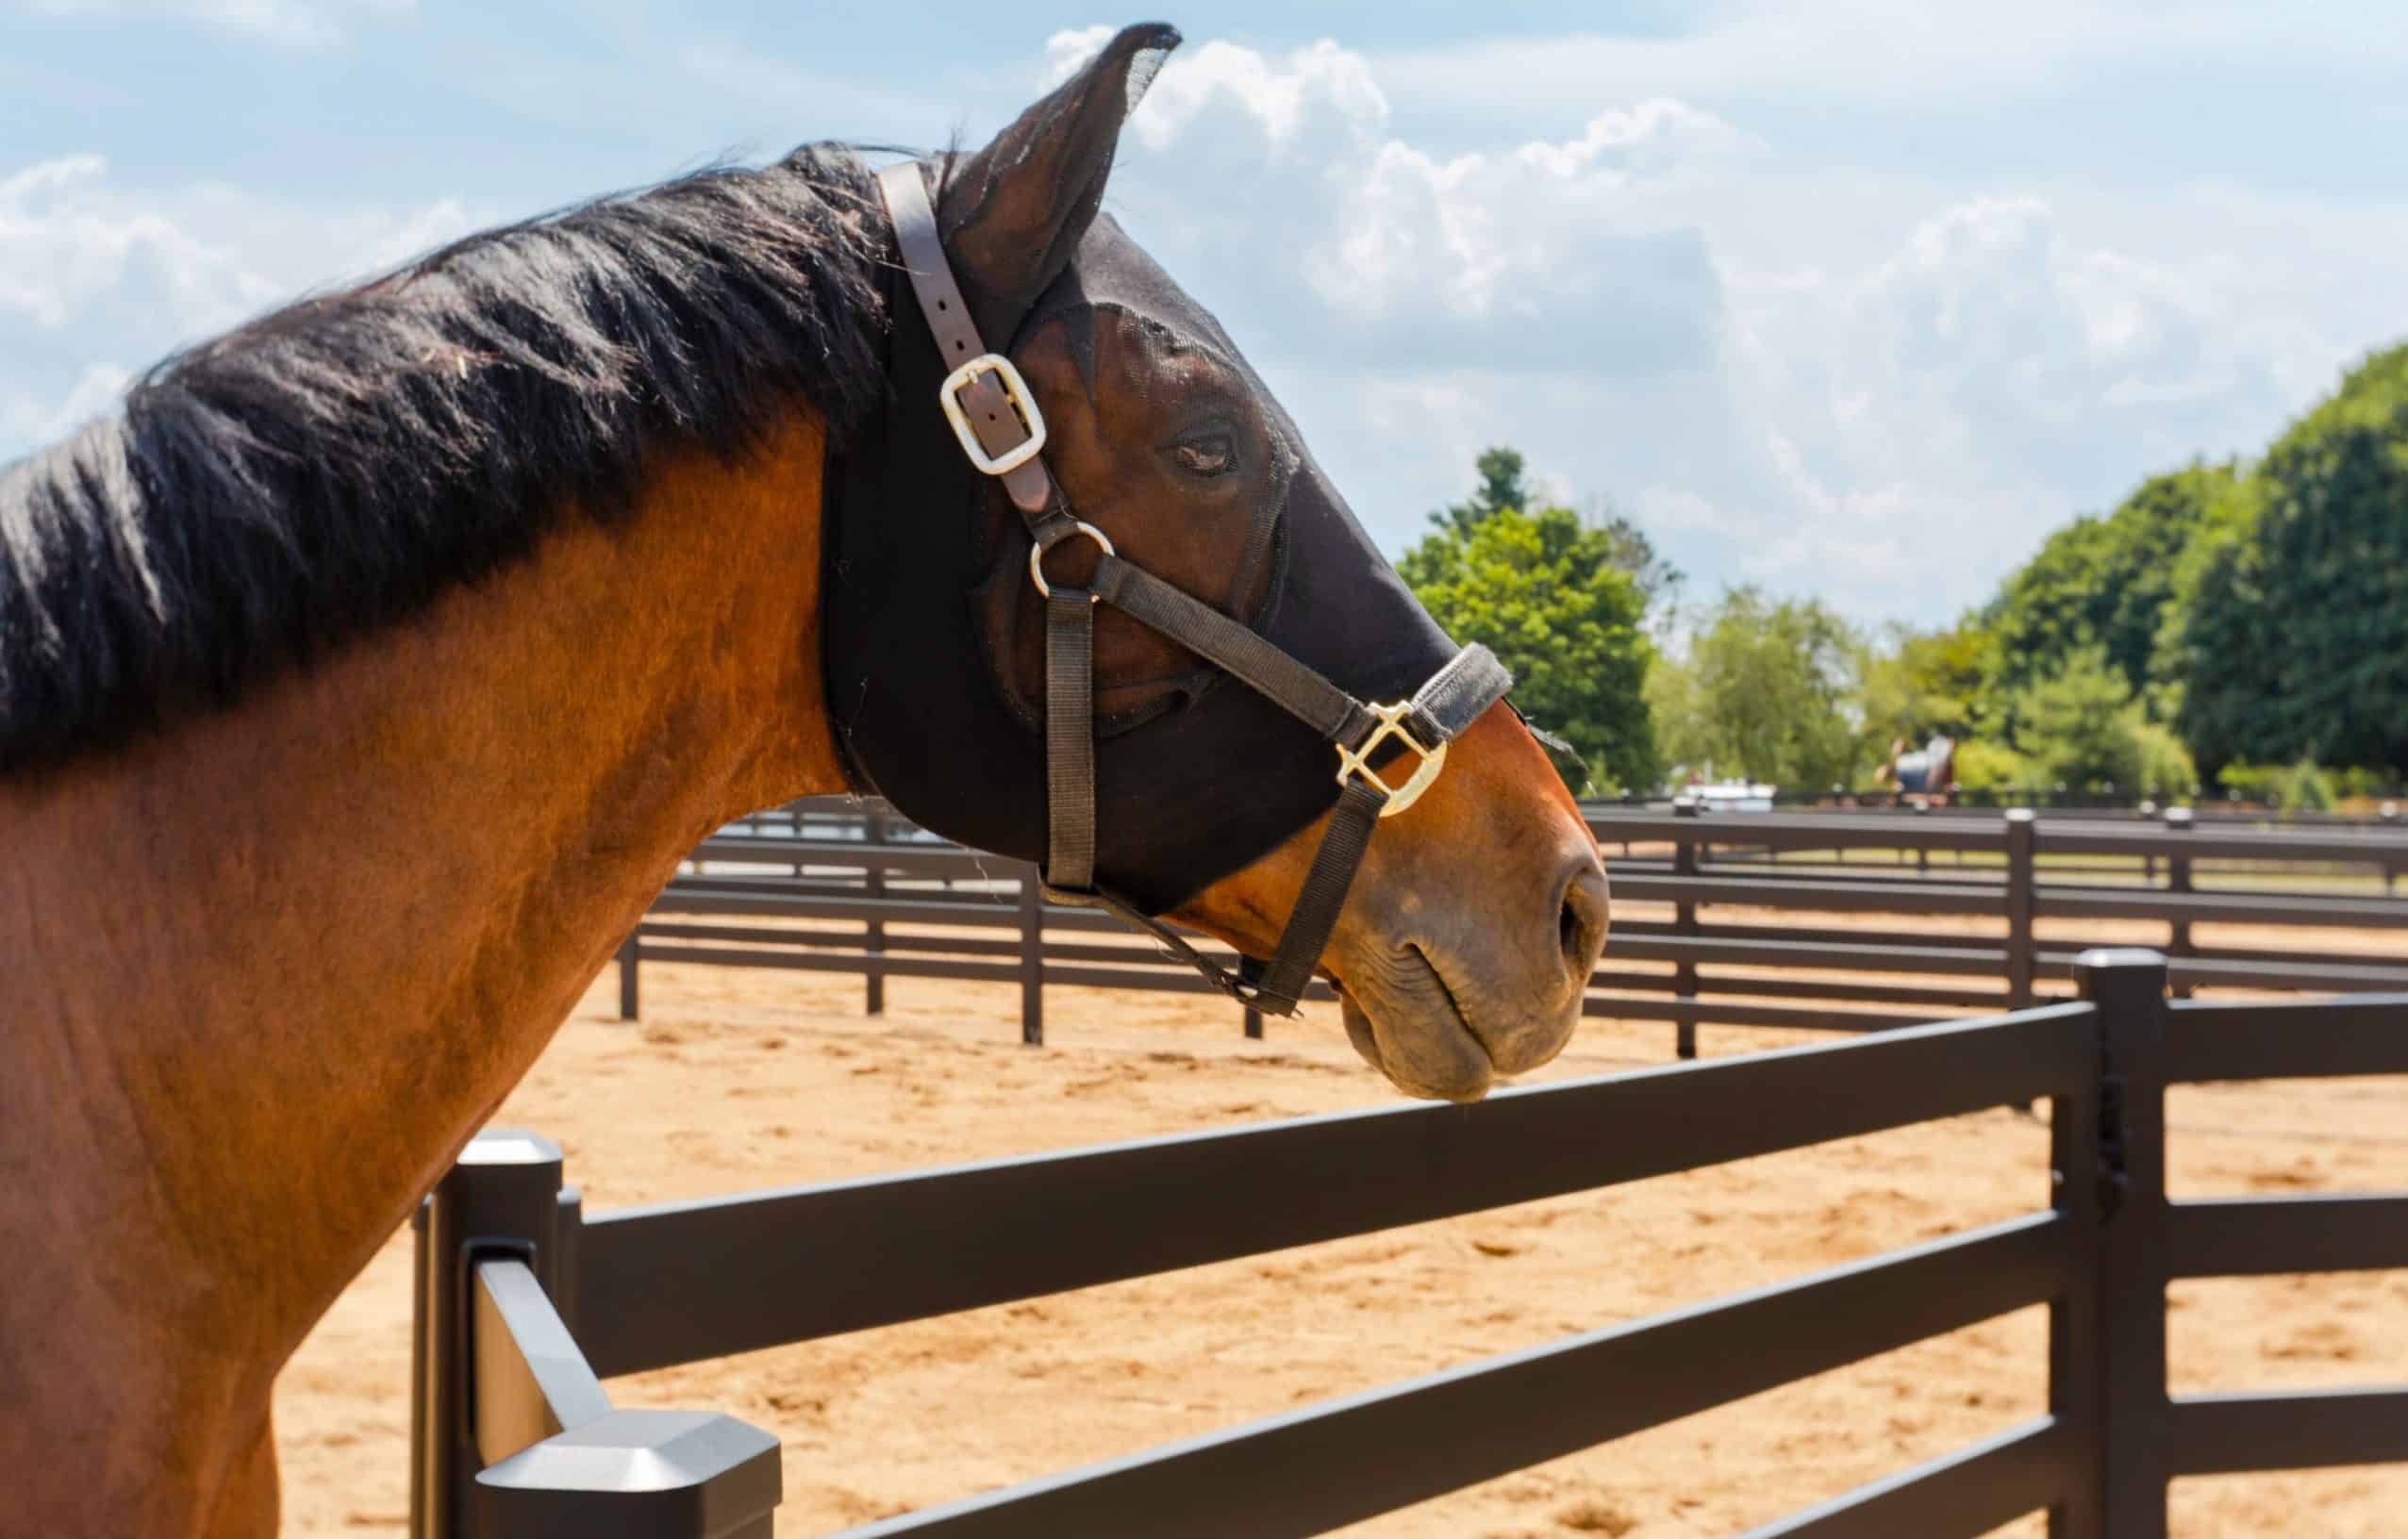
In 2025, we’re seeing a major shift away from traditional wood fencing toward more durable materials, particularly steel board fencing systems. The technology and installation methods have come a long way, making it possible to build a fence that’s not just stronger and safer, but actually looks better than the old wooden standbys.
While there are plenty of ways to build a fence, we don’t want to show you how to build just any ol’ fence—we want to show you the easy, simple, step-by-step process for building a steel board fence. Whether you’re fencing in a small paddock or setting up a full training facility, these steps will help you build any type of fence right the first time.
Why Build a Horse Fence with Steel Boards
When you first look at steel board fencing, you might think, “My grandfather used wood, my father used wood—why change now?” But here’s the thing: we’re not just changing for the sake of change. Steel board fencing solves real problems that every horse owner knows all too well.
- Built to Last: Forget about constant repairs, replacing broken boards, or fighting rot. Steel board fencing stands strong year after year, saving you countless hours of maintenance. Install it once, and it stays put—long enough to see your colts have colts of their own.
- Safety That Never Sleeps: No splinters, no breaks under impact, no sharp edges. The boards flex just enough to absorb impact without giving way, and they’re visible enough that horses spot them easily, day or night. If you’ve ever dealt with a horse injury from a broken board, you know exactly why this matters.
- Handles Whatever Nature Throws: Whether you’re dealing with heavy snow loads up north or the baking sun down south, steel board fencing doesn’t flinch. No warping in the heat, no cracking in the cold, and no rust thanks to modern galvanization. When that next storm rolls through, you’ll be checking on your horses, not your fence.
- Makes Financial Sense: Yes, there’s a bigger upfront cost than wood. But factor in years of maintenance, repairs, and replacement boards with traditional fencing—not to mention your time—and steel board fencing pays for itself. Plus, it adds serious value to your property when it comes time to sell.
- Looks Professional, Always: First impressions matter, whether you’re running a professional facility or maintaining your own piece of heaven. Steel board fencing keeps that clean, professional look year after year, not just on day one like wood.
How to Build a Horse Fence
1. Planning Your Layout
Good horse fencing starts long before the first post goes in the ground. If you’ve done this before, you know that proper planning saves you headaches (and money) down the road. Let’s get your layout right from the start.
- Start with a Clean Map: Pull up your property survey or sketch out your layout on paper. Mark every building, water source, existing fence line, and pathway. Don’t forget to account for future buildings or paddocks—you don’t want to be tearing down fence lines in a year.
- Know What’s Below: Before you dig a single post hole, call your local utilities (811 in most areas). Give them at least 3 business days to mark any underground lines. Trust us, hitting a power or water line isn’t the kind of excitement you’re looking for.
- Gates Are Game-Changers: Place your gates strategically. Think about:
- Equipment access (you need at least a 12′ opening for most tractors)
- Daily traffic patterns for feeding and turnout
- Emergency access (make sure a vet truck can get where it needs to)
- Natural horse movement (they’ll follow the path of least resistance)
- Post Spacing Matters: For steel board fencing, you’ll want posts spaced at 9’7¾” on center (measuring 115¾” between post centers). This isn’t just some random number—it’s engineered for optimal strength and rail fit. Mark these spots clearly with spray paint or stakes.
- Consider Your Terrain:
- Flat ground is straightforward
- For slopes, you might need to adjust post heights to keep rails level
- Watch for low spots that could collect water around posts
- Plan for proper drainage away from your fence line
- Check Local Codes: Take a few minutes to check your local building codes and setback requirements. Some areas have specific rules about fence height or distance from property lines. Better to know this now than after you’ve set your posts.
2. Gathering Your Materials
Before you break ground, let’s make sure you’ve got everything you need. Nothing slows down a fence build like running to the store mid-project. Here’s your checklist:
- The Heavy Equipment:
- Tractor, skid steer, or fork truck rated for 5,000+ lbs (for unloading materials)
- Auger with extension that reaches at least 43″ deep
- Metal cutting saw (if you need to trim posts or rails)
- Post level
- Heavy-duty tape measure
- The Basics:
- String line
- Marking paint or stakes
- Pliers
- Rubber mallet
- Wrench set
- Clean rags
- Cold galvanizing spray (for any cut ends)
- Your Fencing Materials:
- Line posts (100″ length)
- Corner posts
- End/terminal posts
- Rails (approximately 9’6″ length)
- Lock spacers
- Post caps
- Rubber grommets (extras are good to have)
- For the Foundation:
- Concrete (plan on two 80 lb bags per post hole)
- Wood board cut to 110⅝” for post spacing
- Clean water source for mixing concrete
- If You’re Adding Gates:
- Gate posts (they’re different from line posts)
- Gates
- Gate hardware
- Latch systems
- Drop rods for double gates
Quick tip: Order about 5% extra on materials. Between terrain changes and the occasional measuring mishap, you’ll be glad to have spares on hand rather than waiting on a special order to finish the job.
3. Setting Your Posts
Setting posts right is where good fencing becomes great fencing. This is your foundation—everything else builds from here. I’ve seen enough fences go wrong to tell you: this is no place to cut corners.
- Dig Those Holes Right:
- Depth: 43″ minimum (deeper in softer soil)
- Diameter: 9″ for line posts, 12″ for gate posts
- Keep your holes clean and straight—a sloppy hole means a sloppy post
- If you hit rock, work around it but don’t compromise on stability
- Post Preparation:
- Bend out those anchor tabs at the bottom of each post (at least 45°)
- Posts come at 100″ length—don’t cut from the top if you need to trim
- Set your string line at 57″ above ground for consistent height
- Remember: post faces should be 110⅝” apart
- The Pour:
- Two 80 lb bags of concrete per hole usually does it
- Mix your concrete right—too wet means weak concrete
- Pour to about 2-4″ below ground level
- Work the concrete around the post by shaking it (gets rid of air pockets)
- Keep that post plumb while concrete sets—use your level on two sides
- Pro Tips:
- Set gate posts first—they’re your anchor points
- Use a spacing gauge (that 110⅝” board) between posts at ground level
- Check posts for plumb before AND after your concrete pour
- Let concrete set at least 24 hours before hanging rails
- Fill the rest of the hole with dirt after concrete sets
- Getting it Straight:
- Keep a string line up for visual reference
- Stand back and eyeball your line regularly
- Posts should be square to your fence line
- On slopes, keep posts plumb but step your heights
A post that’s off by an inch at the top might be off by three inches at the bottom. Take your time here—these posts aren’t going anywhere for the next 30 years or so.
4. Installing the Rails
Once your posts are set and concrete’s cured, it’s rail time. This is where your fence starts looking like a fence—and where attention to detail really pays off. Here’s how to get it done right.
- Before You Start:
- Give those concrete footings a full 24 hours to cure
- Check all your post holes have rubber grommets installed
- Dampen the grommets with a wet rag—makes insertion easier
- Have your lock spacers ready to go
- Rail Installation:
- Start at a gate or end post
- Insert the top rail first, then work your way down
- Push each rail until it bumps the back of the next post
- Drop in your lock spacer, letting it rest on the top rail
- Pull the rail back tight into the lock spacer
- Repeat for remaining rails in the section
- Working the Line:
- Move section by section down your fence line
- Keep tension consistent on all rails
- Don’t skip any lock spacers—they’re what keeps everything solid
- For corners, you might need to pull lock spacers temporarily for maneuvering
- Handling Challenges:
- For shorter sections (like near gates), measure post face to post face and add 3½”
- Apply cold galvanizing spray to any cut ends
- On slopes, rails can flex up to 23° in any direction
- Work with your terrain, not against it
- Final Touches:
- Cap your posts as you go (use a towel over the cap when tapping down)
- Stand back and check your lines regularly
- Make sure all rails are fully seated in their grommets
- Check that lock spacers are properly positioned
If a rail feels tough to insert, don’t force it. Double-check your post spacing and make sure you’re not fighting your own fence line.
5. Adding Gates and Hardware
Gates can make or break your fence line—both literally and visually. They’re your most-used components, so let’s get them right.
- Gate Post Installation:
- Dig deeper for gate posts (53¾” vs standard 43″)
- Use more concrete (three 80 lb bags instead of two)
- Double-check that 3″ gap between gate post and fence post
- Let that concrete cure fully—no shortcuts here
- Remember: gate posts take more stress than line posts
- Hanging Your Gate:
- Take your time getting the post height right (54″ to top rail)
- Get a helper—these gates aren’t light
- Lift gate over the post (top bearing catches first)
- Line up bottom bearing holes and replace screws
- Don’t over tighten those bearing screws
- Level and Align:
- Check level on the top rail
- Adjust bottom bearing if needed (rotate for perfect level)
- Gates should swing freely without dragging
- Top rail should line up with your fence rails
- Double-check all your gaps are consistent
- Latches and Hardware:
- Mount latches after gate is level and swinging right
- Standard gap to latch post is ½” to ¾”
- Use all mounting hardware—no skipping screws
- For double gates, install drop rods both sides
- Test latches from both sides of the gate
If your gate’s not swinging right, don’t just live with it. A gate that drags will eventually pull your posts out of alignment. Take the time to adjust it now.
6. Final Touches and Safety Checks
You’re in the home stretch, but don’t rush it. These final touches make the difference between a good fence and one you’ll be proud to look at every morning when you feed. Let’s wrap this up right.
- The Final Walk:
- Walk your entire fence line, both sides
- Check every post for plumb one last time
- Look for any rails that need adjusting
- Make sure all lock spacers are fully seated
- Ensure post caps are on tight and level
- Hardware Check:
- Test every gate latch (both directions)
- Check all gate bearings are snug but not tight
- Make sure drop rods slide smoothly
- Double-check all your gate gaps are even
- Ensure all nuts and bolts are properly tightened
- Ground Work:
- Grade around posts for proper drainage
- Fill any low spots near concrete footings
- Clear away construction debris
- Smooth out any ruts from equipment
- Re-seed disturbed areas if needed
- Before Turning Out Horses:
- Give those concrete footings three full days to cure
- Remove any temporary bracing
- Walk the fence line one more time
- Take photos for your records (trust me, you’ll want these)
- Let your horses inspect it while you watch
Give your horses time to check out the new fence while you’re there. They’ll test it eventually—better to have that happen while you’re watching.
Invest in a Horse Fence You Can Trust with Buckley
Congratulations—you’ve just built a fence that’ll outlast most trucks on your property. Do it right, and the only maintenance you’re looking at is the occasional hardware check and keeping an eye on those gates.
Listen, we’ve been building fences for decades. In that time, we’ve seen just about everything Mother Nature and horses can throw at a fence. That experience goes into every Buckley Fence component we make. From our engineered post spacing to our specialized lock spacers, every detail matters.
We build fences the way ranchers would build them (if they owned a steel mill). Tough enough for draft horses, elegant enough for premier equestrian facilities, and practical enough for working ranches.
Whether you’re tackling this project yourself or bringing in a professional installer, we’re here to help. Give us a call or shoot us a message. We’ll walk you through anything from material calculations to installation questions.
